Did you just recently start a blog of your own? That’s great news for you and your loved ones. Now, what’s next? To get Google to recognize you of course! Google is currently the largest search engine today, so being recognized by them will eventually lead to lots of free organic traffic.
Unlike many new bloggers, you’re not going to wait for Google to recognize you. Instead, you’re going to let Google know that your blog is alive. In this article, I will show you how to inform Google of the existence of your blog. Without further ado, let’s dive right into it!
Set Up Your Google Sitemap
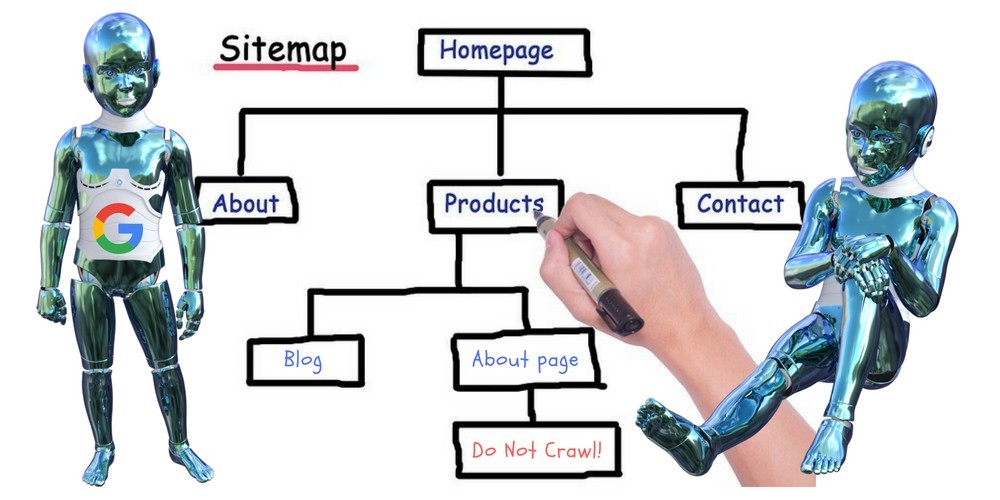
In a nutshell, the sitemap is a map of all the pages on your blog. It gives a clear direction for Google and other search engine bots to crawl your available URLs.
The sitemap is an XML file that provides the search engines with a list of URLs in your blog along with additional information such as when it was last updated and how frequent it gets updated.
Step #1. Register for your Google Search Console

This is a tool provided by Google that enables you to tell Google where your blog’s sitemap is located. By completing this simple process, Google will know of the existence of your blog. It’s almost like telling Google, “Hey, I’m here, send your bots to my blog! Check me out!”
Your Sitemap is basically a tour guide that walks the search engine bots through your blog to ensure that they see what you want them to see.—You can actually prevent the bots from seeing certain pages or posts.
Step #2. Install The Google Sitemap Generator Plugin

As a WordPress user, creating a sitemap is as easy as saying 1-2-3. You don’t need to understand how to code because it is all done for you.
The Google Sitemap Generator will generate an XML-Sitemap for your blog and will be formatted to support search engines like Google, Yahoo, MSN Search, Ask, etc.
It’s one of those plugins that you don’t need to constantly update. Whenever you add new blog posts, the Sitemap generator will automatically update, so the next time Google or other search engines send bots to your blog, they’ll know of your new post.
There are some SEO plugins that includes a built-in Sitemap Generator such as Yoast. Instead of installing another plugin, I’ll just have to activate it on my Yoast general settings.
Step #3. Use The Robots.txt File

The Sitemap only provides the search engines with the URL. In other words, it doesn’t give the search engine bots enough information to determine the relevance of the article. Therefore, if you want to rank for specific keywords, you’ll need to complement your sitemap with what is known as the Robots.txt.
The Robots.txt is an URL exclusion protocol and it gives the search engine a better understanding of your blog posts to help them index it.
The Robots.txt will also the search engine bots what it can and cannot index. Now you’re probably wondering why you wouldn’t want Google to index all of your pages. Well, there are exceptions to everything. You wouldn’t want Google to index a private page, members-only page, duplicate content, etc
Here’s A Sample Robots.txt File
Sitemap: https://smartaffiliatehub.com//sitemap.xml
# global
User-agent: *
Disallow: /xmlrpc.php
Disallow: /cgi-bin/
Disallow: /go/
Disallow: /wp-admin/
Disallow: /wp-includes/
Disallow: /author/
Disallow: /page/
Disallow: /category/
Disallow: /wp-images/
Disallow: /images/
Disallow: /backup/
Disallow: /banners/
Disallow: /archives/
Disallow: /trackback/
Disallow: /feed/
The above Robots.txt is an example of what I used on my blog. It lets the search engine bots know what not to index. You see, when creating blog posts, you’ll also be creating duplicate content. The reason why is that your posts will appear in categories, trackback, feed, archives, etc.
Therefore, I block all of those and only allow the search engine bots to index my blog posts. By using both the Sitemap and Robots.txt file, you will give the search engine the complete picture of your blog posts and that will help you get ranked faster.
In Conclusion
To break down this article, first you’ll need to have registered for Google Search Console, so you can let Google know of your existence. Next, you’ll have to create a Sitemap to let Google/Search Engines know about the URLs available in your blog. Finally, to let Google/Search Engines know how to index your blog posts, you’ll need the Robots.txt file to give them the full picture.
Once you’ve completed all of the provided steps above, you should find your blog posts getting indexed much faster. Have you done this for your blog? Do you have something to add to this article?
If you have any questions, comments, or concerns, please leave them in the comment section down below!
Kind Regards,


 Protected by Patchstack