Recently, I wrote an article on how to create an eCommerce website using Shopify. But let’s face it. Shopify is not the only platform in the market that allows you to create an online store.
So what if you’re already using a different eCommerce platform, but want to make the switch to Shopify? In this article, I want to go over exactly how to migrate your website to Shopify without losing on traffic and revenue.
Without further ado, let’s get started! You don’t have to follow step by step. I will try to make it clear as to which step you should take.
Step #1. Create A New Shopify Website

The first step is to create a Shopify website using its own subdomain. So your website URL will look something like this: yourbrand.myshopify.com.
During this process, you should be recreating your existing store with zero conflict because your Shopify website will be password protected.
That means nobody will see your online store until you launch it.
Keep in mind, the recreation process will be tedious because you have to manually add info for each of your products, pricing, etc.
But there’s a reason why Shopify is the most popular eCommerce platform.
The tools and resources that you get with operating a Shopify website will far outweigh the annoying migration process (one-time).
Shopify will ask if you’re transferring stores from other platforms. Simply select the one that you’re transferring from.
Note: If you are using WordPress with the WooCommerce plugin, Shopify allows you to import things like your product info straight into Shopify. Click here to learn more.
Depending on the size of your eCommerce business, you can also import information from a CSV. However, you’ll need Shopify Plus in order to take advantage of this feature.
Step #2. Set Up Your Redirects (If You Are Choosing A New Domain)
The goal here is to replace your old website with the new one on Shopify without losing traffic and revenue. Redirection is one way to do just that.
Let’s say you’ve launched your new website, a lot of your customers will still be accustomed to your old URL.
You want to redirect people who are clicking on your old URL to the correct page of your new website after the migration.
Not only that, another great benefit to redirecting your URLs is that it will also transfer your page authority. This will help your new Shopify website rank on search engines faster.
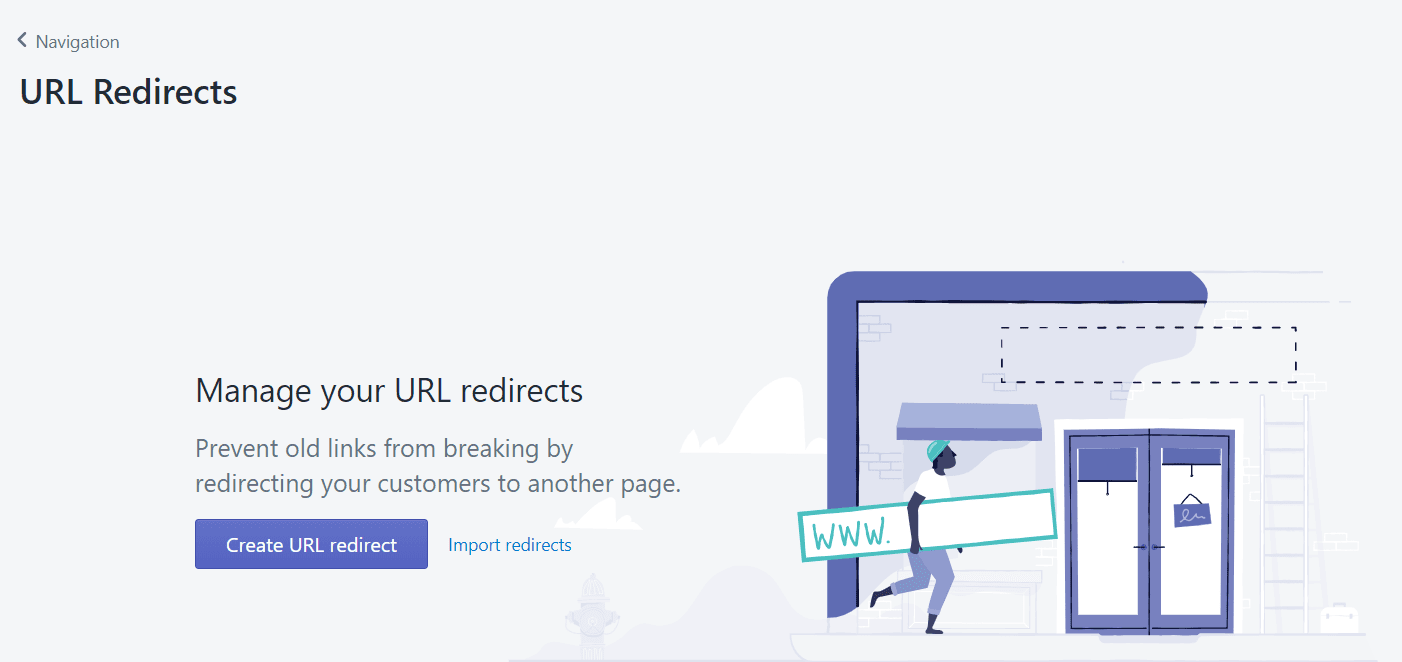
Unlike most platforms, Shopify is redirection ready. Simply log into your account and go to Online Store > Navigation > URL Redirects.
If you changed your URL structure, you’ll need to get it redirected. For example, if you went from smartaffiliatehub.com/products/apple-pie-for-adults to smartaffiliatehub.com/products/apple-pie.
Then you’ll want to redirect your URL for that individual URL.
However, if it’s just a domain name change, you just have to redirect your old domain to your new domain.
Step #3. Go Live And Configure Your DNS Settings (If You Are Using An Existing Domain)
With everything all set up, you can now point your existing domain to Shopify. The point of configuring your DNS settings is so when someone visits your website, they will find your Shopify store.
Here are instructions on how to connect a domain by Shopify.
Once you’ve successfully configured your DNS settings to point to Shopify, allow a few hours before the changes go live.
To reduce traffic loss, I recommend doing this at a time when you receive the least number of web traffic. I usually make major changes on Monday, so I have a full week to tweak any issues that I discover.
Also, most people work on weekdays, so it allows me to prevent any major issues on the weekend.
Tip: Don’t Delete Your Old Website Just Yet, Wait 30 Days Minimum!
Even after everything is configured, you should keep your old website for at least 30 days. This is just for preventative measures.
If something goes wrong on your new website, you can easily change your DNS settings to point back to the old one.
Step #4. Say Goodbye To Your Old eCommerce Website
Here comes the last and final step. Hopefully, everything went smoothly and you waited at least 30 days to monitor the activity of your new eCommerce website. Now you can finally shut down your old eCommerce website.
You don’t want to neglect this step because you don’t want to have an abandoned website out there with the ability for someone to buy from.
Just recently, I stumbled upon a website that I thought was still active. I ended up making the purchase and waited for a month without delivery confirmation.
I decided to use the contact information to reach out to the owners and realized that the website I purchased from is no longer active because they’ve migrated their website to a different platform (sells the same thing).
Not only was it a waste of my time, but it’s also a waste of their time. If they redirected the old website to the new one. I would’ve still made the purchase with no issues at all.
So don’t keep your old website active after 30 days if you don’t plan to use it again.
In Conclusion
Hopefully, that was helpful! You can migrate pretty much any website to Shopify with ease. You just have to make sure you set up proper redirection and point your domain to the right place to prevent loss in traffic and sales.
I honestly think that’s the hardest part. And of course, if everything goes smoothly, you can safely delete your old website after 30 days.
Have you ever tried migrating a website? Please share your experience with us!
Or if you have any questions, comments, or concerns. Leave a comment down below and I will try my best to help you out!

